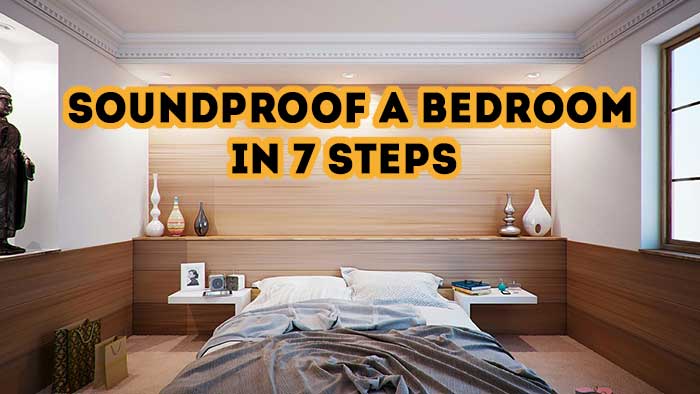
Soundproof Master Bedroom
Noise pollution is the worst but total soundproofing is crazy expensive. Quiet is really important to me, especially in certain rooms of my home.
Because I didn't want to spend a ton for a total remodel, I decided to go the DIY route.
In my bedroom, I want to keep outside noise out to improve sleep quality and also keep private sounds from being easily heard throughout the house.
My solution isn't perfect but I didn't want to spend thousands of dollars. These are the 7 steps I took, resulting in a very decently soundproofed room.
Individually, some of these steps don't seem to make a huge difference but all together, it works for me. My room isn't 100% soundproofed but it's a lot quieter than it used to be.
Best yet, this process was efficient and cost-effective.
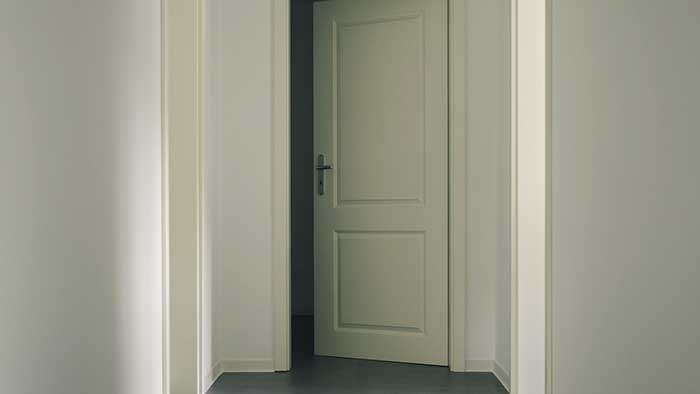
1. Install a door sweep and use weather stripping.

In this whole soundproofing process, I found out the door of your bedroom is a major way that sound gets in and out. Because of this, dealing with the door might be the most important step.
A door has some cracks where air (and sound waves) can easily travel through.
The first thing I did was install a good door sweep.
These are really cheap and they do a pretty good job. It's really easy to install and it seems to be super durable.
I also added some weather stripping seal tape around the perimeter of the door to keep those other cracks from letting sound through.
2. Add some mass to the door.
I'm really stressing the door here because for me, that's where a lot of the problem was. If you're more concerned about sound from above or below or outside getting in getting out in those directions, this step isn't quite as vital.
But for a lot of people, soundproofing the door as fully as possible will make a big difference . It did for me.
The best thing you can do is replace your door altogether to a solid wood door. Chances are that your bedroom is not solid and is rather a hollow-core style.
If you live in an older home and already have a solid door, count yourself lucky!
A solid wood door will cost at least $200 and can cost way more. For me, I didn't want to spend that money since I wanted to add soundproofing features to other parts of the room as well.
If you don't have a solid door or can't afford to buy one, there are things you can do to add some mass to your door. It might not look pretty, but you can afix some drywall or MDF board to the door.
This adds some weight and thickness and that can really help mitigate sound leakage.
Another option is a fiberglass panel or weighted blanket but for me just hanging some cheap and easy-to-install MDF board did the trick pretty well.
3. Seal the windows.
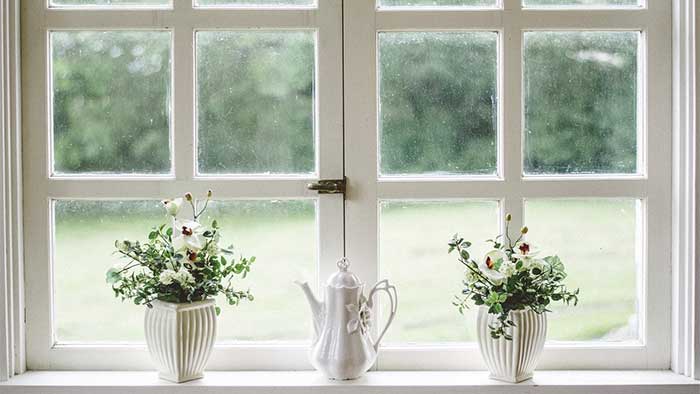
I still had some of that rubber weather stripping left over from the door so I used it on the window as well.
While there are no actual cracks letting air in from outside, I wanted to go the extra step. Did this one really make a difference?
I'm not sure but it made me feel like I was accomplishing something.
If you do get any kind of a draft coming in around your windows, this step is going to be super important.
If even a tiny bit of air is coming in, so is sound. Weatherstripping will block that sound and as a bonus, it will get rid of that pesky draft!
4. Invest in good soundproofing curtains.
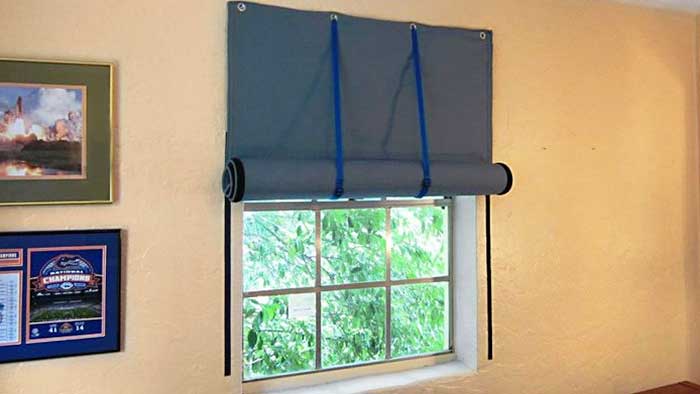
I've never cared all that much about the overall aesthetic of my bedroom so I never had curtains, just basic shades. Adding blackout curtains that block out both light and sound has been lifechanging and that's not an exaggeration.
I guess I didn't realize how much light was affecting my sleep. These curtains are awesome not just for blocking out light as they also offer some pretty good soundproofing.
I used to wake up every Thursday morning when the garbage truck came by at an early hour but now I sleep through it.
As a bonus, my style game is now definitely elevated and I get compliments on how these curtains look.
Check out my post about soundproofing curtains: http://soundproofexpert.com/sound-deadening-curtains/
5. Hang some acoustic foam.
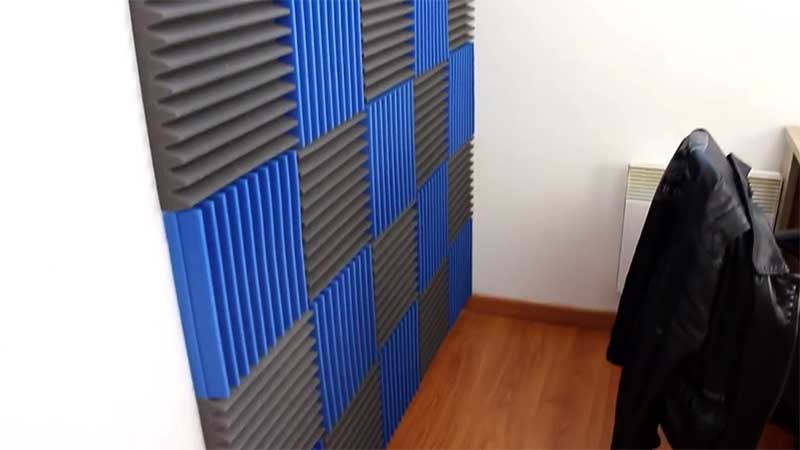
I just talked about how my bedroom aesthetic improved thanks to my curtains but this next step maybe brought it back down a bit. Hanging acoustic foam on the walls throughout my bedroom created more of a recording studio vibe than you might want.
That said, I know it's possible to use acoustic foam in a more artistic way to actually add some style but I'm just not that talented. You can play around with colors and patterns and shapes with this stuff.
I'm not all that creative and I didn't want to put in that much effort but I promise that it can be done. You can check out Pinterest for some inspiration and layout/design ideas.
Acoustic foam doesn't really do a great job of blocking sound from getting in. Rather, this step is all about absorbing sound so it doesn't get out.
This is great if you like to listen to music or watch tv at a healthy volume while others in the house are trying to sleep.
It's also pretty good at keeping certain private bedroom sounds from being broadcast to the rest of the house, if you know what I mean.
My post on accoustic foam: http://soundproofexpert.com/foam-panel/
6. Hang some art.

Trying to make up for my acoustic foam panel style or lack thereof, I also invested in some nice but relatively cheap canvas art. I cut some of the acoustic foam to fit in the hollow in the back of the canvas.
This helps block sound but it's also really beautiful to look at.
7. Consider the ceiling or the floor. (Or both!)
By now, we've covered most of the problem areas but what about the ceiling and the floor?
Depending on where you live, one or both of these could be a major source of noise. If you hear a lot of sound coming from above you, you'll want to do something with the ceiling.
You can add some acoustic foam panels there which will probably help to an extent.
If you are willing to make the investment, ceiling clouds are quite effective.
I think they look kind of cool, too. If you know that sound from your bedroom leaks through easily to the floor below you, you'll want to do something about the floor.
If your floor isn't carpeted, adding a large, heavy rug will make a pretty big difference.
This is also another way you can add some style and personality by picking out a design you really like. Putting the rug on top of a layer of soundproofing vinyl will dampen sound even further.
Wrapping it up
By following these 7 steps, I was able to turn my bedroom from noise pollution central to something of a peaceful haven. Is it 100% soundproofed? Nope, but the difference is enough for me.
Without losing my mind or depleting my savings account, I was able to get this done in a weekend. Now, it's much easier to sleep, read, relax, and do all the other things I like to do in my bedroom! I can still hear stuff from outside my room but it's significantly less than it used to be so it's not nearly as distracting.
Plus you can't hear me nearly as much from the rest of the house now.
The best part of this whole project was that I inadvertently realize how much light pollution was affecting me as well. Investing in sound-absorbing blackout curtains has been huge for my overall health and happiness. I was also able to add some style to my room overall, through the curtains and some strategically placed but lovely art.
When I started to do a deep dive on soundproofing, I realized pretty quickly that it could be a rabbit hole and I could have easily spent my life on a quest to achieve maximum soundproofing.
I'm glad I was able to rein myself in, though, and stop when I did.
If I was building a new home, I'd try to implement some better soundproofing techniques from the start as it's way easier to do it that way.
Bonus step
My bonus step to you is this: you've got to stop at a certain point. Once you start adding soundproofing elements, you start to get excited and you want to keep at it to steadily improve.
That's great to an extent but I think you could easily go a little bit crazy if you don't eventually stop when it's "good enough." For some of you, I know this step will be the most difficult one of all to follow through on.
But hey, if you do keep going and have any suggestions for me that are easy to implement and aren't outrageously expensive, I'd love to hear them! Please share what you did and how well it works.
I'd also love to see what creative acoustic foam tile patterns and designs you come up with. In the meantime, I'll be enjoying a nap in my dark and quiet bedroom.
Source: https://soundproofexpert.com/bedroom/


0 Komentar